ZWO 1.25"/2" IR UV Cut Filter
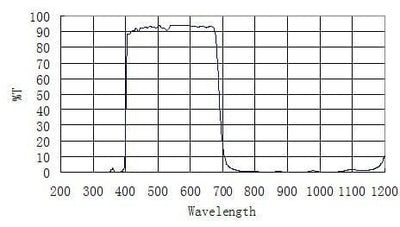


ZWO 1.25"/2" IR UV Cut Filter
Diameter - 1.25" | ZWO-IRCUT1.25
Why Purchase from All-Star Telescope?
Free Expert Support
Whether you are a first timer needing help with setting up or an enthusiast that can't quite make that one thing work, our expert staff are ready to support your needs. With decades of knowledge and first hand experience we've been there and we can help you through it!
Stress Free, Secure Transactions
You can trust purchasing and delivery with All-Star Telescope. All of our transactions are 100% secure and Level 1 PCI DSS compliant thanks to Shopify's ShopPay platform. For additional protection, we insure 100% of the value of every shipment we make. If it get's lost during shipment, we replace it. If it gets damaged during shipment, we replace it. We make sure your product arrives exactly as you would expect it to; we promise.
We also ensure privacy protection. We never keep any of your credit card information on file and any of your personal data is stored according to our policies.
30 Day Return Policy
Buy with confidence knowing that we accept returns up to 30 days after purchase. We want you to have something you will actually use and we are confident that we keep good quality products in our store with No Junk.
Price Match Promise
Shipping around for the best price is tough, we make it easier by offering the best pricing in the market. But if you find a better price on an in-store item somewhere else we will match it!
Product Description
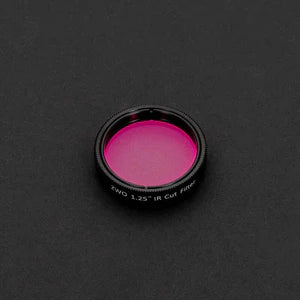
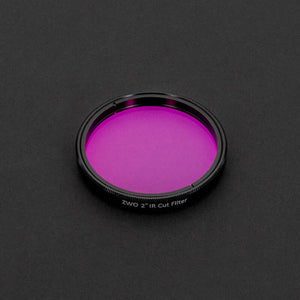
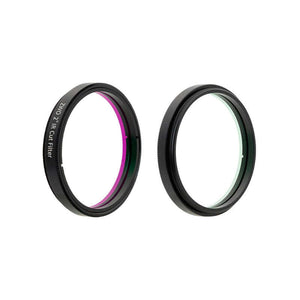
The ZWO IR-Cut Filter blocks infrared light from reaching the sensor of your CCD or CMOS camera or your expensive H-alpha filter. When imaging, the addition of this simple and inexpensive accessory will result in sharper images, and when doing solar work, the IR Cut Filter will your protect H-alpha filter from the damaging effects of infrared radiation.
Infrared or IR light is invisible to the human eye, and so even though most telescopes are not designed to focus IR light, it does not matter when you are using your telescope visually. However, when you add a camera to the mix, its a whole other story! Unlike the human eye, a silicon sensor is very sensitive to light in the infrared portion of the spectrum, and that is a problem because infrared images are blurry as all get out. That means your nice, sharp visual light image is degraded by the addition of the infrared layer. This problem can easily be solved by blocking the infrared, and the ZWO IR Cut-Off, will do just that.
Note: These filters do not have usable female threads and hence cannot be stacked with other filters.
Specifications
- The ZWO IR-Cut filters are housed in a 1.25"/2" cell.
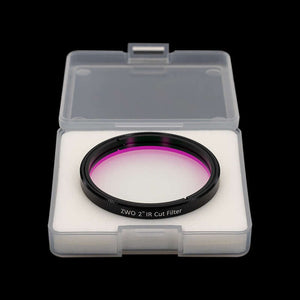
- The filter comes with a protective plastic case.
- Thickness: 1.85 mm

Additional Articles, Videos, and Links
External Links
Astrophotography for Beginners Step 4: Shooting Deep-Sky Images
Taking deep sky pictures can be daunting, luckily there is an easy process to follow to allow you to get great shots! Here is the typical process for actually taking deep-sky images in the field.
Astrophotography for Beginners Step 3: Choosing Gear for Deep-Sky Imaging
Using a star tracker gains you experience with the fundamentals of deep-sky imaging. Shooting the Moon gains you experience focusing and framing through your telescope. Through your sessions you’ll...
Astrophotography for Beginners - Start Here: Getting into Astrophotography Step by Step
Shooting the night sky has never been more popular, nor easier. The choice of equipment has also never been better, or more affordable. However, as per the advice given by Dickinson and Dyer in the...
Astrophotography for Beginners Step 1: Using the Star Adventurer Tracker
By far the most economical and easiest way to capture beautiful images of the Milky Way and large deep-sky objects like the Andromeda Galaxy (shown here) is to use a star tracker. Here are steps an...
Astrophotography for Beginners Step 2: How to Shoot the Moon
Close-ups of the Moon are rewarding, and an easy way to learn to shoot through your telescope. While good results are possible with a phone camera clamped to an eyepiece (as shown below), this tuto...


