

Why Purchase from All-Star Telescope?
Free Expert Support
Whether you are a first timer needing help with setting up or an enthusiast that can't quite make that one thing work, our expert staff are ready to support your needs. With decades of knowledge and first hand experience we've been there and we can help you through it!
Stress Free, Secure Transactions
You can trust purchasing and delivery with All-Star Telescope. All of our transactions are 100% secure and Level 1 PCI DSS compliant thanks to Shopify's ShopPay platform. For additional protection, we insure 100% of the value of every shipment we make. If it get's lost during shipment, we replace it. If it gets damaged during shipment, we replace it. We make sure your product arrives exactly as you would expect it to; we promise.
We also ensure privacy protection. We never keep any of your credit card information on file and any of your personal data is stored according to our policies.
30 Day Return Policy
Buy with confidence knowing that we accept returns up to 30 days after purchase. We want you to have something you will actually use and we are confident that we keep good quality products in our store with No Junk.
Price Match Promise
Shipping around for the best price is tough, we make it easier by offering the best pricing in the market. But if you find a better price on an in-store item somewhere else we will match it!
Product Description
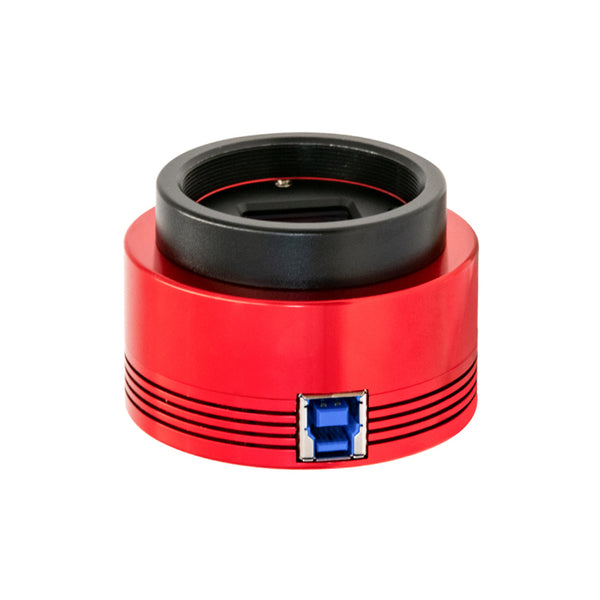
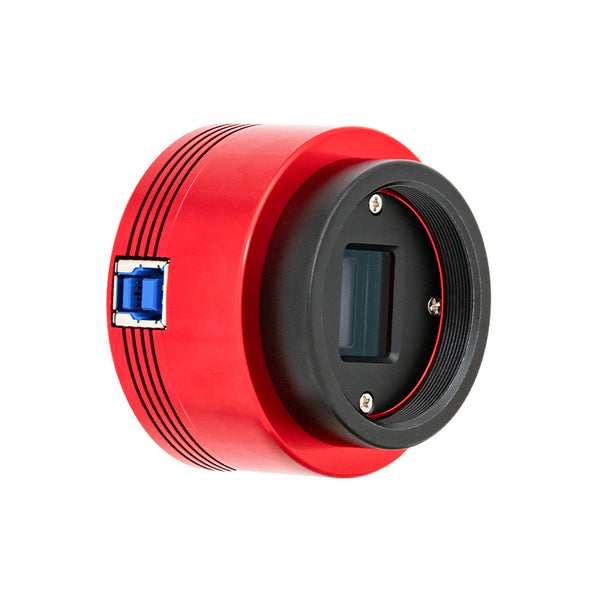
The AS1432MM uses a Sony-IMX432 global shutter CMOS sensor. Its frame size is 1.1", with large 9.0µm pixels, 1.77 million pixels (1608*1104). In ADC 12-bit mode, it can output 120 frames per second at full resolution and has a read out noise level as low as 2.4e.
Large Format, Large FOV
AS1432MM has a large sensor format of 1.1inch and hence a large field of view. The area is almost twice that of ASI174MM, making it a better choice for solar imaging and lunar imaging than ASI174MM which is an already recognized solar imaging camera.
Large Pixels, High Sensitivity
The 9um pixel size is almost 1.5 times larger than the ASI174MM pixel size. With its high sensitivity, images with finer colors and subtler details are now possible. You can have full trust in its solar imaging performance regarding to both full disk and local details.
Global Shutter
Being a global shutter camera, ASI432MM also features a very high fps rate. Thus, it's not only good for solar and lunar imaging, also suitable for you to photograph ISS and other fast-moving objects.
Full Well Depth
ASI432MM has a full well depth of 97ke, which is 3 times larger than that of ASI174MM. The larger full well depth provides the camera with stronger sensitivity. When we want to photograph the Sun surface and prominences at the same time, a very good quality image can be obtained.
Pregius 3rd Gen Technology
AS1432MM is an upgraded version of ASI174MM. It adopts Sony IMX432 sensor and is integrated with the advanced 3rd Gen Pregius technology. It uses global shutter, just as its predecessor. But its sensor format and pixel size are apparently much larger. Also, when you compare AS1432MM to ASI174MM, you'll find AS1432MM has a 3 times larger full well capacity and much lower dark current noises.
USB 3.0 & 256M DDR3 Memory
The camera is equipped with a USB 3.0 transmission interface and a built-in 256MB DDR3 cache to ensure stable and secure data transmission. Under long exposure, it effectively avoids frame dropping and greatly reduces the glow effect caused by slow reading speed.
In addition to its USB3.0 interface, it can also connect to external devices using USB2.0 or through its integrated ST4 port (and included cable). It also has a 1/4" screw hole for tripod mounting.
What's in the Box
Specifications
| Sensor | 1.1" CMOS Sony-IMX432LLJ-C |
| QE peak | 79% |
| Back focus length | 6.5mm/17.5mm |
| Max fps | 120fps |
| Full well | 97Ke |
| Shutter | global shutter |
| Resolution | 1.77Mega Pixel,1608*1104 |
| Pixel Size | 9µm |
| Exposure Range | 32μs~2000s |
| Interface | USB 3.0 Type-B |
| Protect window | φ32-2 AR |
| ADC | 12bit |
| Dimension | 14.5*9.95mm |
| Weight | 126g |
| Working Temperature | -5℃~50℃ |
| Storage Temperature | -10℃~60℃ |
| Working Relative Humidity | 0-80% |
| Supported OS | Windows, Linux & Mac OSX |
Additional Articles, Videos, and Links
External Links
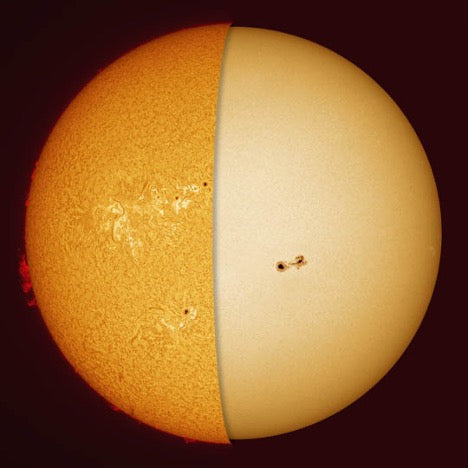
Go Ahead, Look at the Sun (With the Right Equipment)
Solar observation and solar photography are a lot of fun with the right equipment, and this is a great time to start. Every 11 years the Sun’s magnetic field completely flips. That means that the...
Astrophotography for Beginners Step 4: Shooting Deep-Sky Images
Taking deep sky pictures can be daunting, luckily there is an easy process to follow to allow you to get great shots! Here is the typical process for actually taking deep-sky images in the field.
Astrophotography for Beginners Step 3: Choosing Gear for Deep-Sky Imaging
Using a star tracker gains you experience with the fundamentals of deep-sky imaging. Shooting the Moon gains you experience focusing and framing through your telescope. Through your sessions you’ll...
Astrophotography for Beginners - Start Here: Getting into Astrophotography Step by Step
Shooting the night sky has never been more popular, nor easier. The choice of equipment has also never been better, or more affordable. However, as per the advice given by Dickinson and Dyer in the...
Astrophotography for Beginners Step 1: Using the Star Adventurer Tracker
By far the most economical and easiest way to capture beautiful images of the Milky Way and large deep-sky objects like the Andromeda Galaxy (shown here) is to use a star tracker. Here are steps an...
Astrophotography for Beginners Step 2: How to Shoot the Moon
Close-ups of the Moon are rewarding, and an easy way to learn to shoot through your telescope. While good results are possible with a phone camera clamped to an eyepiece (as shown below), this tuto...

